Table of Contents
Robot framework is a keyword-driven test automation framework. It can be used by engineers with minimal or no coding experience. All leading software development companies use Robot framework for automating daily tasks or test execution.
RIDE is an integrated development environment for Robot framework. In this article, we will see how to install RIDE in windows 10.
Below 6 steps can be used for ride installation on windows 10
Step 1: Install Dependency packages
- RIDE installation in windows requires python and wxpython packages to be installed. Even though wxpython can get auto-downloaded as a dependency, we still need to install python (including pip)
- In this article, I have identified and will be using python 3.7.9. and wxPython 4.0.7.
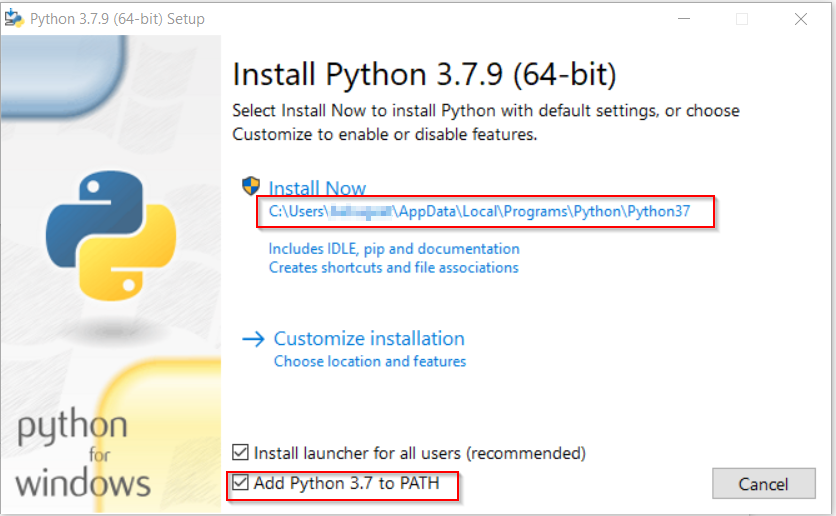
- Python 3.7.9 executable can be downloaded from the official python page
- While installing python make sure the checkbox "Add Python 3.x to PATH" is selected and the installation path needs to noted, as this is used later in this article
- Verify the python version after installation.

- If python version is not shown after successful python installation. Please reboot the machine and check again
Step 2: Install wxPython
- wxPython is a wrapper for the RIDE GUI and version compatibility with the robot framework is important. If the version is matching, even though the installation will be successful, GUI will not be loaded
- For compatibility matrix, we can refer to the official RIDE page
- At the time of writing this article since I have used python 3.7.9, wxPython 4.0.7 or above is needed for installation to be successful
pip install wxPython==4.0.7
Step 3: Install Robot Framework
Install robot framework using pip. This will install the latest stable robot framework.
pip3 install robotframework --no-cache-dir command

After installation verify the robot version

Step 4: Install robotframework-ride
Execute the below command to install robotframework-ride
pip3 install robotframework-ride --no-cache-dir command
Step 5: Accessing the RIDE GUI.
Navigate to the python installation path. We have already noted down this path from step 1. But if you failed to note it, execute the below command
where python
![]()
Inside the python installation path in my case it is "C:\Users\*****\AppData\Local\Programs\Python\Python37\"
execute the below command to get the RIDE GUI
python Scripts\ride.py

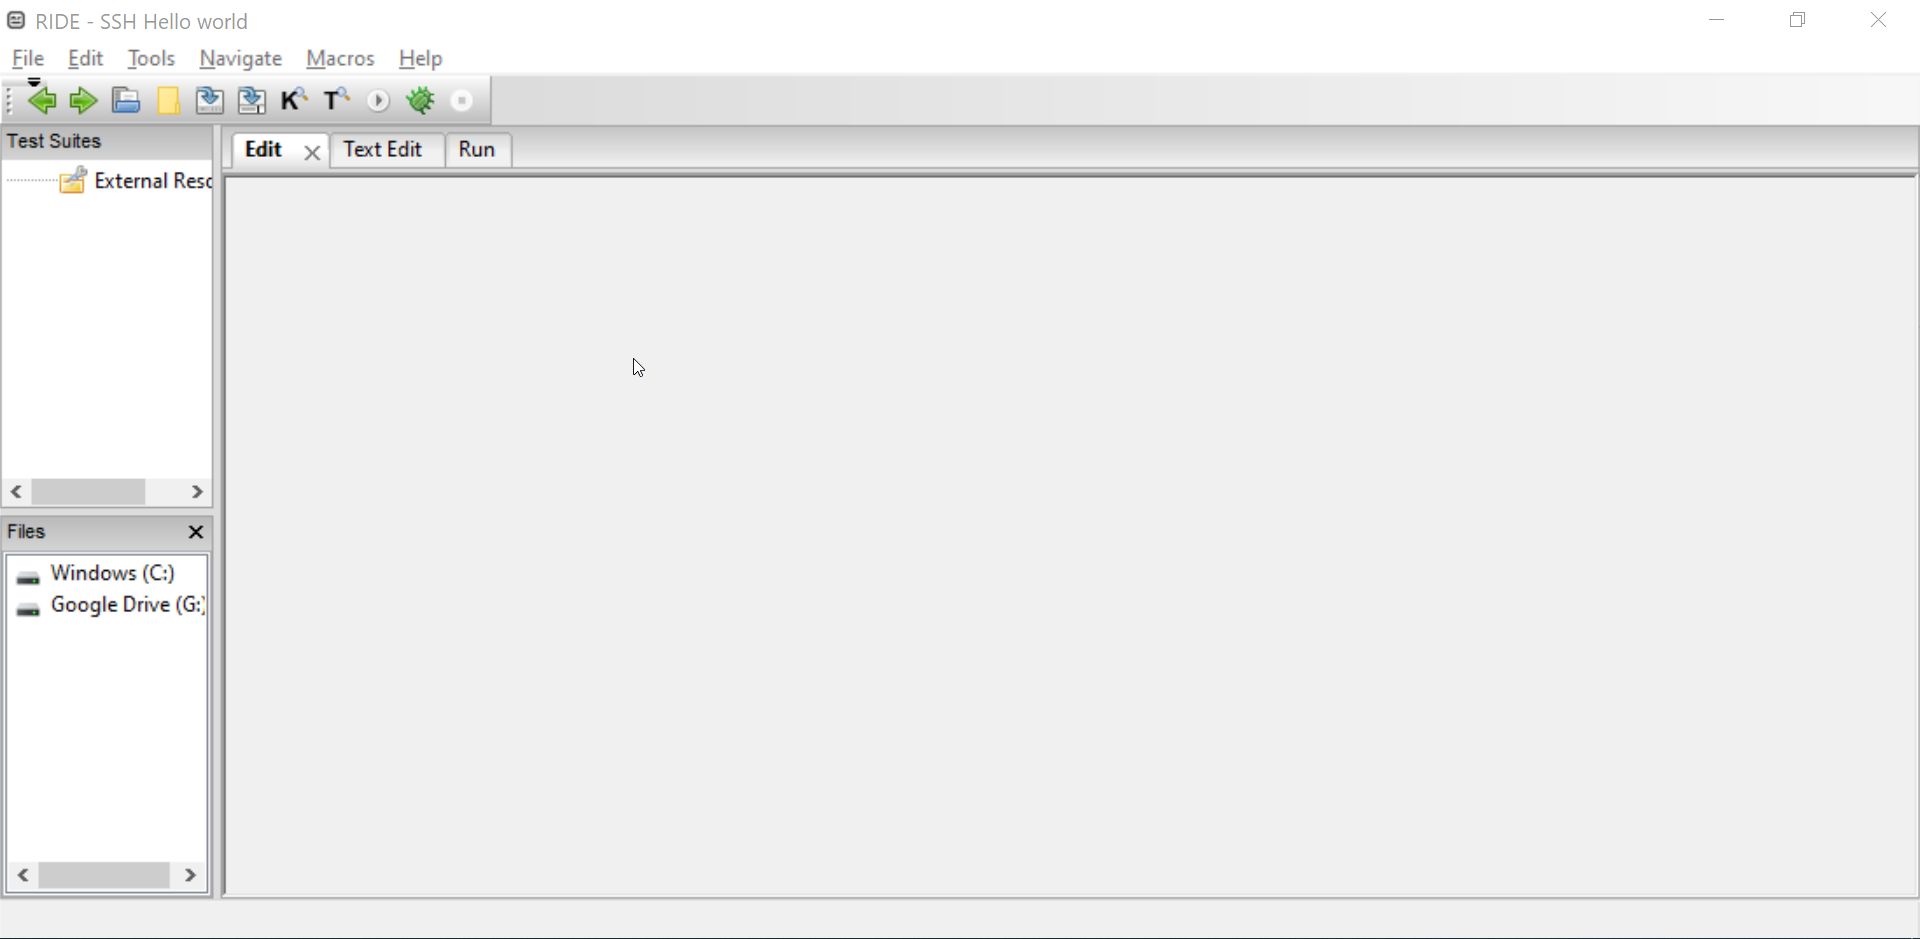
Once the above command is executed, RIDE GUI will be opened
Step 6: Add a desktop shortcut
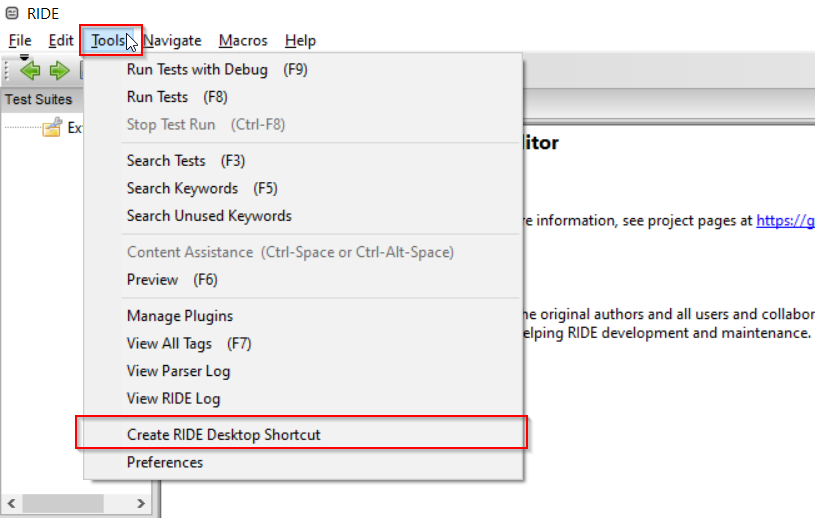
RIDE desktop shortcut can be created for easy access.
Goto "Tools" --> "Create RIDE Desktop Shortcut "
Verify the shortcut key on the desktop and open it for accessing the GUI
Known bugs and Work Arounds
- While accessing the ride for the first time via cmd . If you are getting the below message, this shows there is a compatibility issue with the robot framework and the python installed in the machine.
<class 'robotide.preferences.configobj.UnreprError'> Parse error in value at line 0.
<class 'robotide.preferences.configobj.UnreprError'> Parse error in value at line 3.
<class 'robotide.preferences.configobj.UnreprError'> Parse error in value at line 4.
<class 'robotide.preferences.configobj.UnreprError'> Parse error in value at line 5.
<class 'robotide.preferences.configobj.UnreprError'> Parse error in value at line 6.
You will have to uninstall the python and reinstall a compatible python after following the compatibility matrix
- When installing wxPython, if the installation is failing, this can be because the python path is not present in the environment variable (follow step 1 for fixing this issue)


Thank you so much for the very easy & clearer commands & instructions to install ride/robot framework.
Very helpful.