Table of Contents
Rocky Linux is one of the alternative which came in place of CentOS, as CentOS reached EOS/EOL. Among other alternatives, CentOS was widely accepted by the community.
In this Article we will see how to install Rocky Linux 8 on Virtual Box
Pre-requisites
Oracle Virtual Box is installed on the machine which you are working on.
Step 1: Rocky Linux ISO download
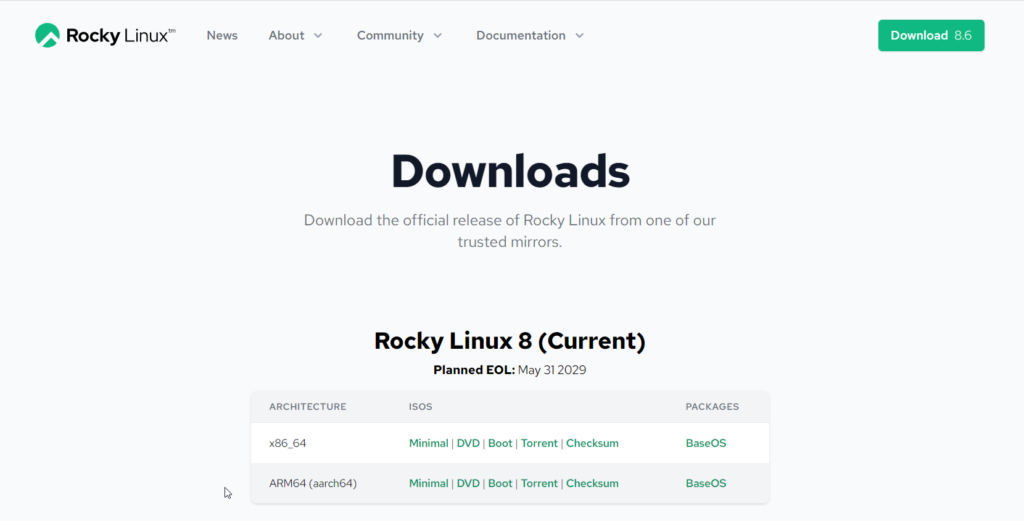
Visit the rocky linux official webpage and download the required ISO image, there are different ISOs available for different architecture and requirement
Step 2: Create Virtual Machine
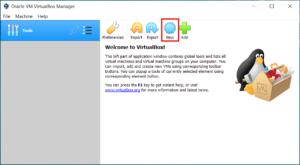
- Create a Redhat Based Virtual Machine on the Virtual Box. Click on New or the gear button to start creation of the VM
- Name the VM (Rocky Linux 8)
- Change the Machine Folder (Optional)
- Select Type as Linux and Version as Red Hat (64 bit)
Assign Memory to Rocky Linux VM
Allocate Memory to the VM. By default a memory of 1024MB will be preselected. But official installation document suggests to assign minimum 2048 MB
Step 3: Create Virtual Hard Disk
A virtual hard disk of 8GB need to be created for the VM
Select Create a virtual hard disk now option and Click on Create
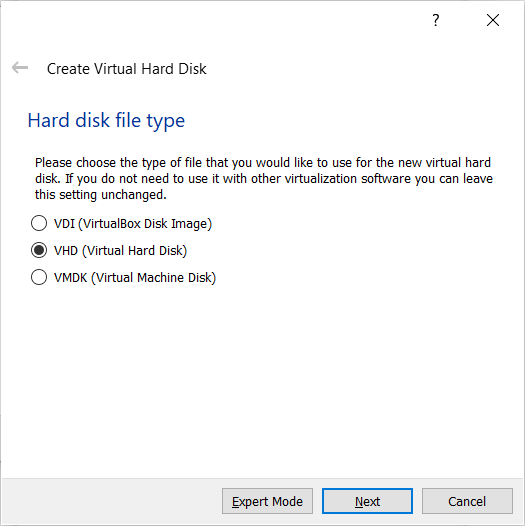
A menu which ask for Hard disk file type can be seen after clicking the create. You can select VHD (Virtual Hard Disk) can be selected. Details on when to select which Hard disk file type is not in the scope of this article
Select Dynamically allocated option and click on Next

Assign required disk and Click on Create. In my case 10GB is assigned

Step 4: Select Bridged Adapter for Networking
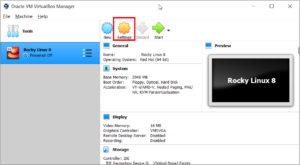
We will use Bridged Adapter for Networking, with this adapter the VM will be able to communicate with outside the virtual box and other VMs. Select the VM and click on settings
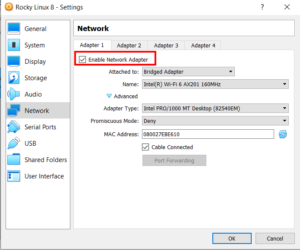
- Navigate to Network and Select Adapter1
- Select Bridged Adapter in Attached to dropdown
- Select the check box to Enable Network Adapter and Cable Connected
Step 5: Attach Rocky Linux 8 Image
- The downloaded ISO image need to be attached to the VM
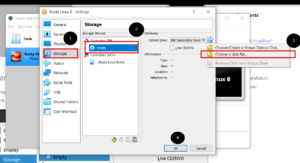
- In VM settings, Navigate to storage and Click on Controller: IDE
- Click on Empty and in the attributes tab , Click on the CD icon
- Select the Choose a disk file , which opens up the file explorer
- Navigate to the downloaded ISO image and select the image
 Step 6: VCPU allocation to the VM
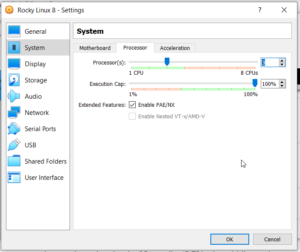
- In VM settings, Navigate to System and Select Processor
- Under Processor tab, assign required VCPUs, by default 1 VCPU will be allocated
- In my case I'm assigning 3 VCPUs
Step7: Start Rocky Linux Installation
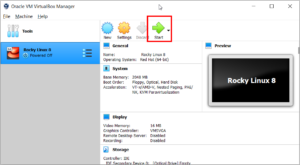
- Select the created VM and click on the Start to begin the rocky linux 8 installation on virtualbox
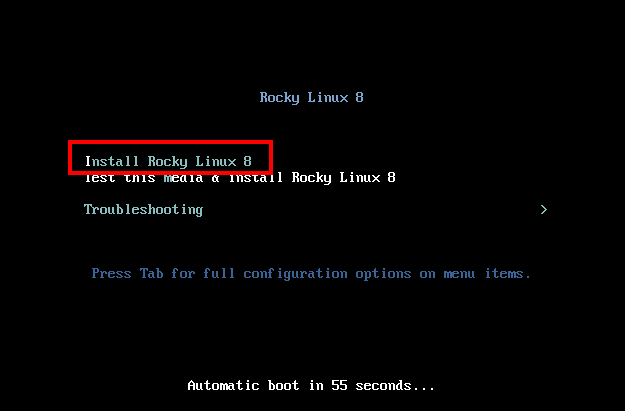
- Up on starting the VM a screen will be loaded. Select Install Rocky Linux (use keyboard up and down keys) and click on Enter
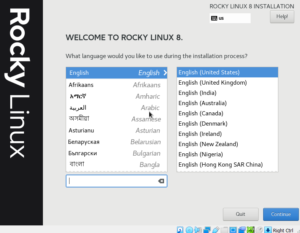
- In the welcome screen, we can select the preferred language for installation process
- Set Date and Time (Time zone) using Time & Date option
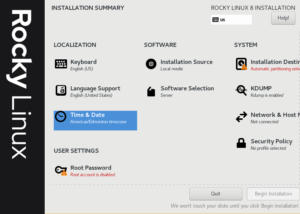
- Create password for root user by selecting Root Password in the installation summary screen
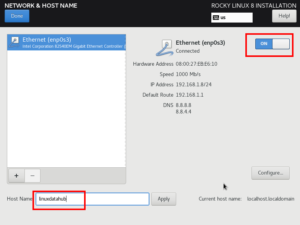
- Assign hostname(optional) and enable the network interface
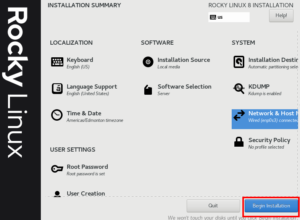
- Once the required configuration is done, the Begin installation button become active and Click on Begin installation
- Once the installation process is started, it will take some for installation process to complete. Make sure internet is available to the machine as some package will be downloaded as part of the installation
- Once installation is completed, Reboot machine, use Reboot System button seen in the screen
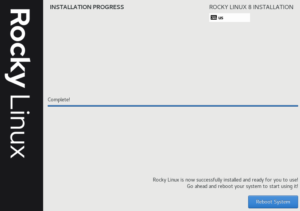
- Once Reboot is initiated, the VM will be booted from the OS installed on the VHD
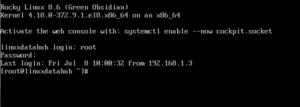
- Once the boot up is successful, login prompt can be seen. you can use root user and the root password set during the configuration stage to access the VM

